Free Envelope SVG for Cricut Joy Insert Cards

As much attention as I’ve been giving my new Silhouette, I’m still crafting with my Cricuts! It’s double the fun, hehe.

The Cricut Joy insert cards are one of my favorite projects. It’s great that they’re so quick and easy. Even so, I like to spend time on them making them more personalized.

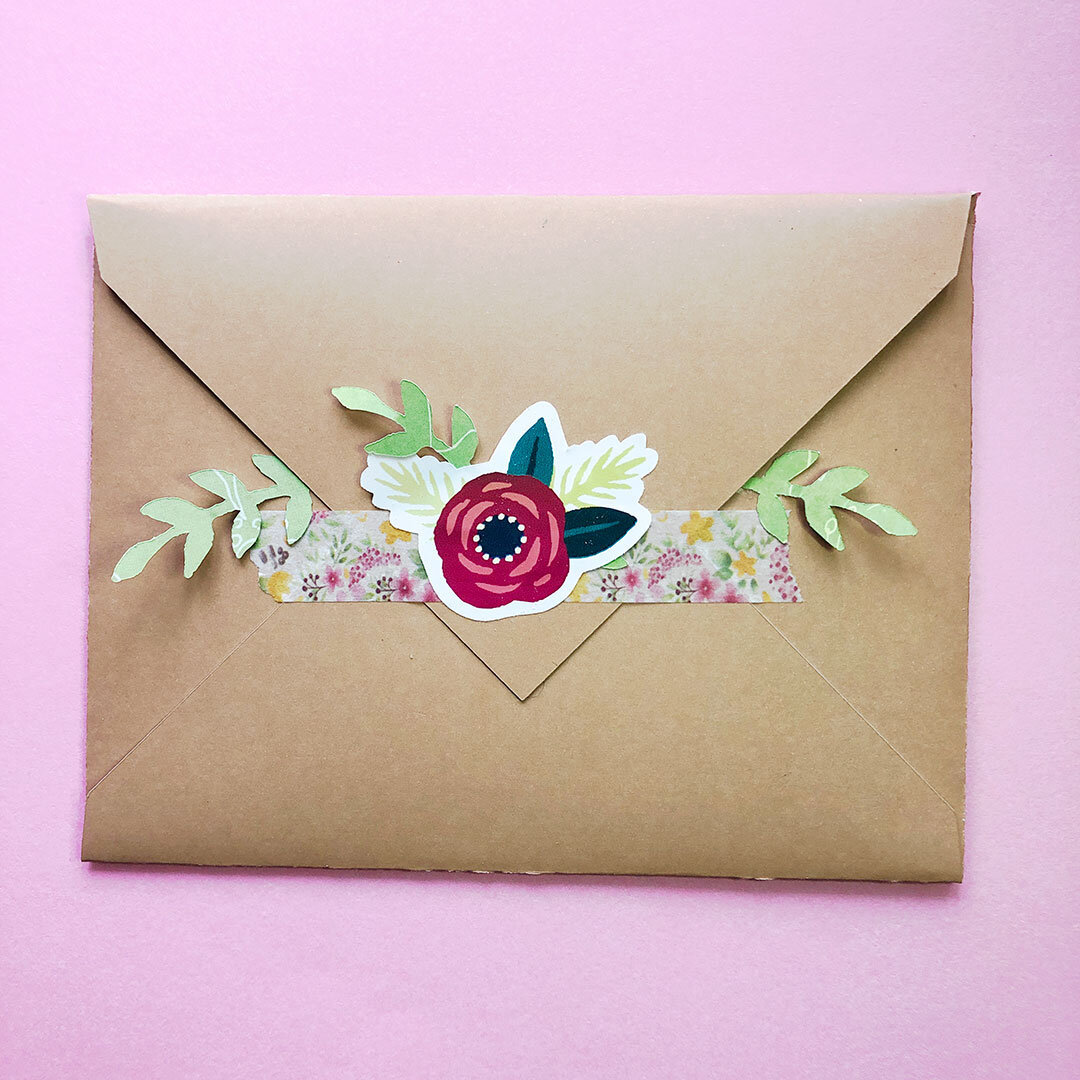
nsturk-cricut-joy-insert-envelope-photo-1-web.jpg

One way you can add a little bit extra to your insert cards is to make a custom envelope! It’s fun to coordinate it to your card with your choice of papers and embellishments. It also uses up some of that paper you’ve been stashing away!

I created my own cut files to use, which I’m going to share with you because I like you. ;)

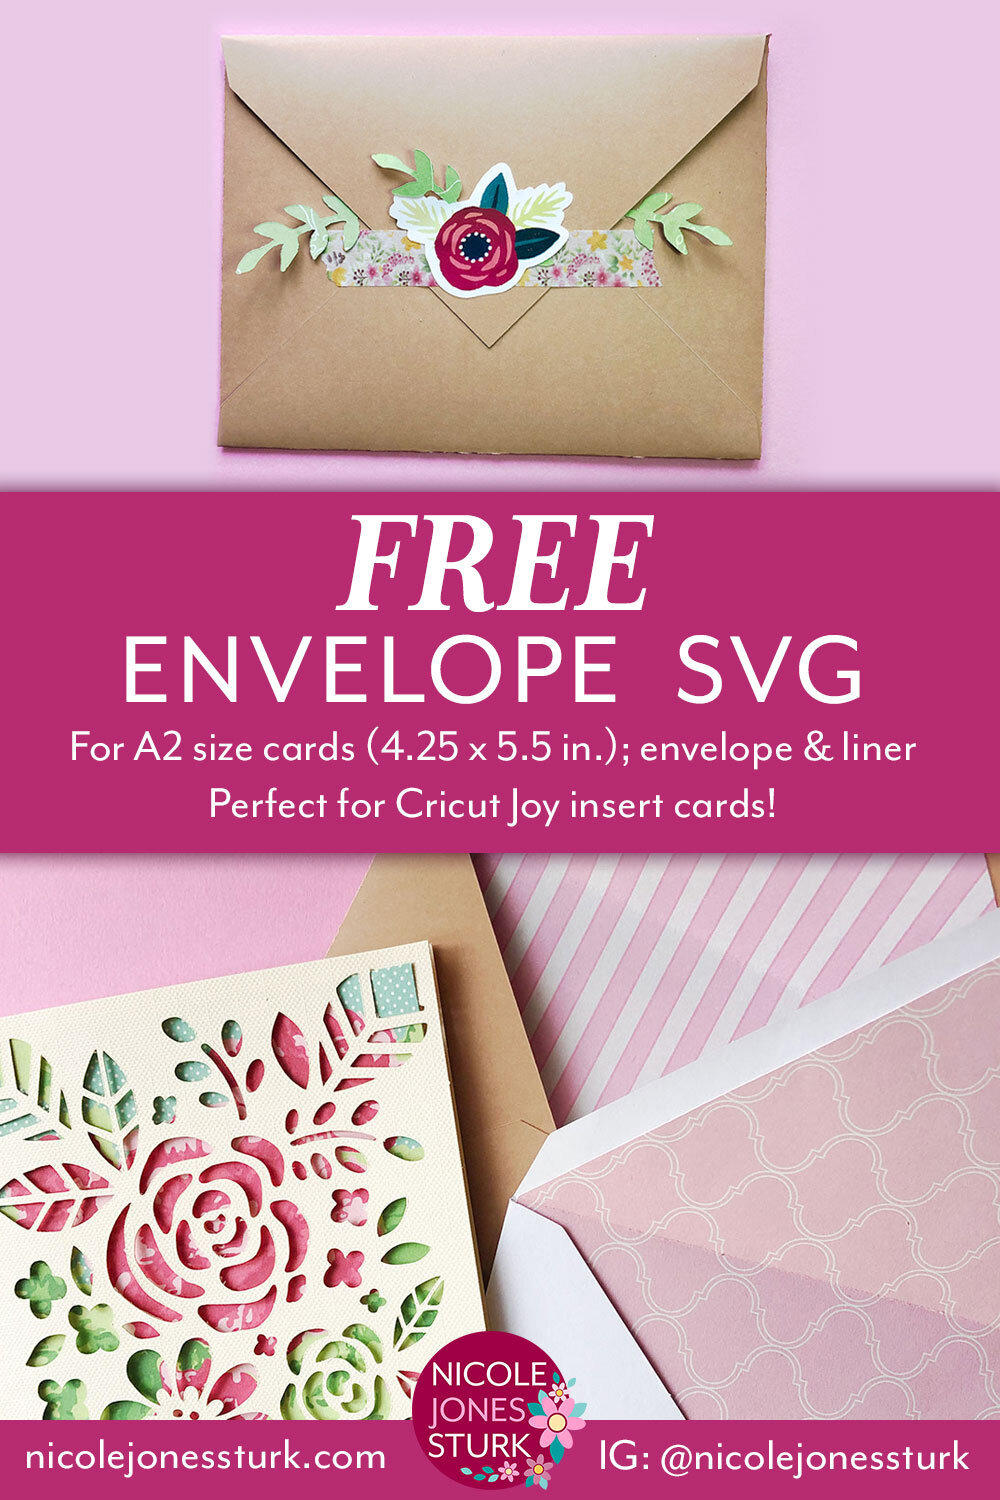
The FREE download I’ve prepared for you includes:

  • envelope SVG sized for A2 Cricut Joy insert cards (4.25 x 5.5 inches)

  • envelope liner SVG

  • envelope liner printable PDF template—print directly on your paper and cut by hand; use with an existing envelope

  • PDF instructions

nsturk-cricut-joy-insert-envelope-photo-2-web.jpg

Some tips: I like to use a sturdy paper, but not too heavy. I still want it easy to fold and mail if needed. Also for mailing, I prefer to use a plain paper for easier readability when going through the postal system. The liner works best with a lighter weight paper so you don’t add too much bulk to the inside or make it harder to fold. I probably wouldn’t add loose elements (like the paper branches that are sticking out in the image above) if I were planning to mail as well.

Oh, and obviously, you can use this with any A2 size card, not just Cricut Joy insert cards! And SVGs can be resized as well.

FYI, if you like the flower sticker in the image above, you might be interested to know that I’m working on a cute floral printable sticker sheet as part of my bonus content for April. Sign up for my newsletter if you haven’t already to gain access to that download and more when it’s ready!

Click on the button or image below to download the envelope files!

You’re free to use with any project, but please do not redistribute the original files directly, such as through a direct download on our own blog or social media. But that doesn’t mean don’t SHARE—I’d love if instead you sent your friends a link to this post so they can download as well!
nsturk-freebies-promo-april2021.jpg

Easter Eggs Past and Present

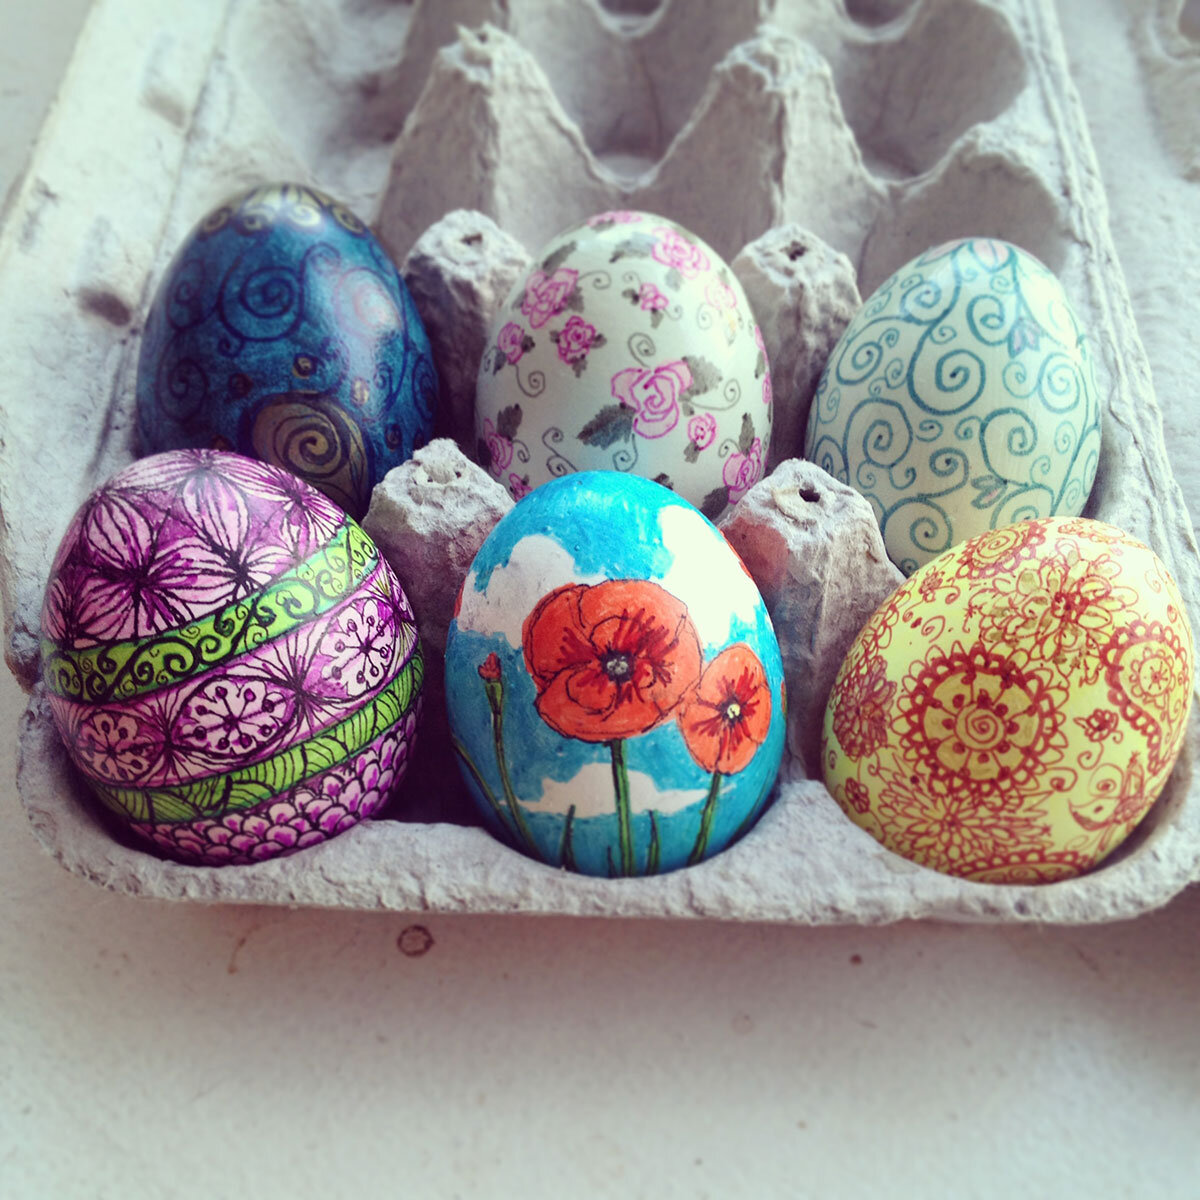
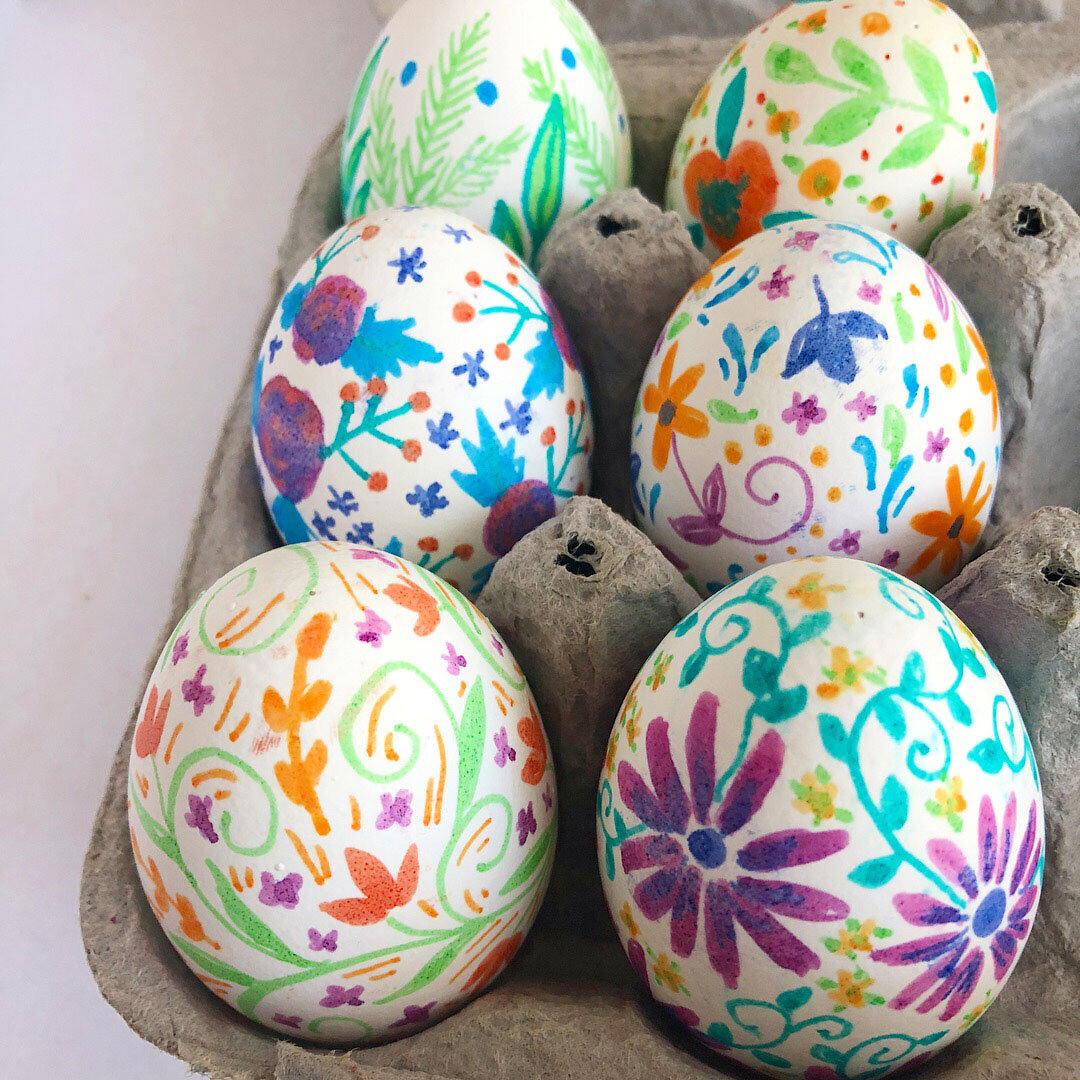
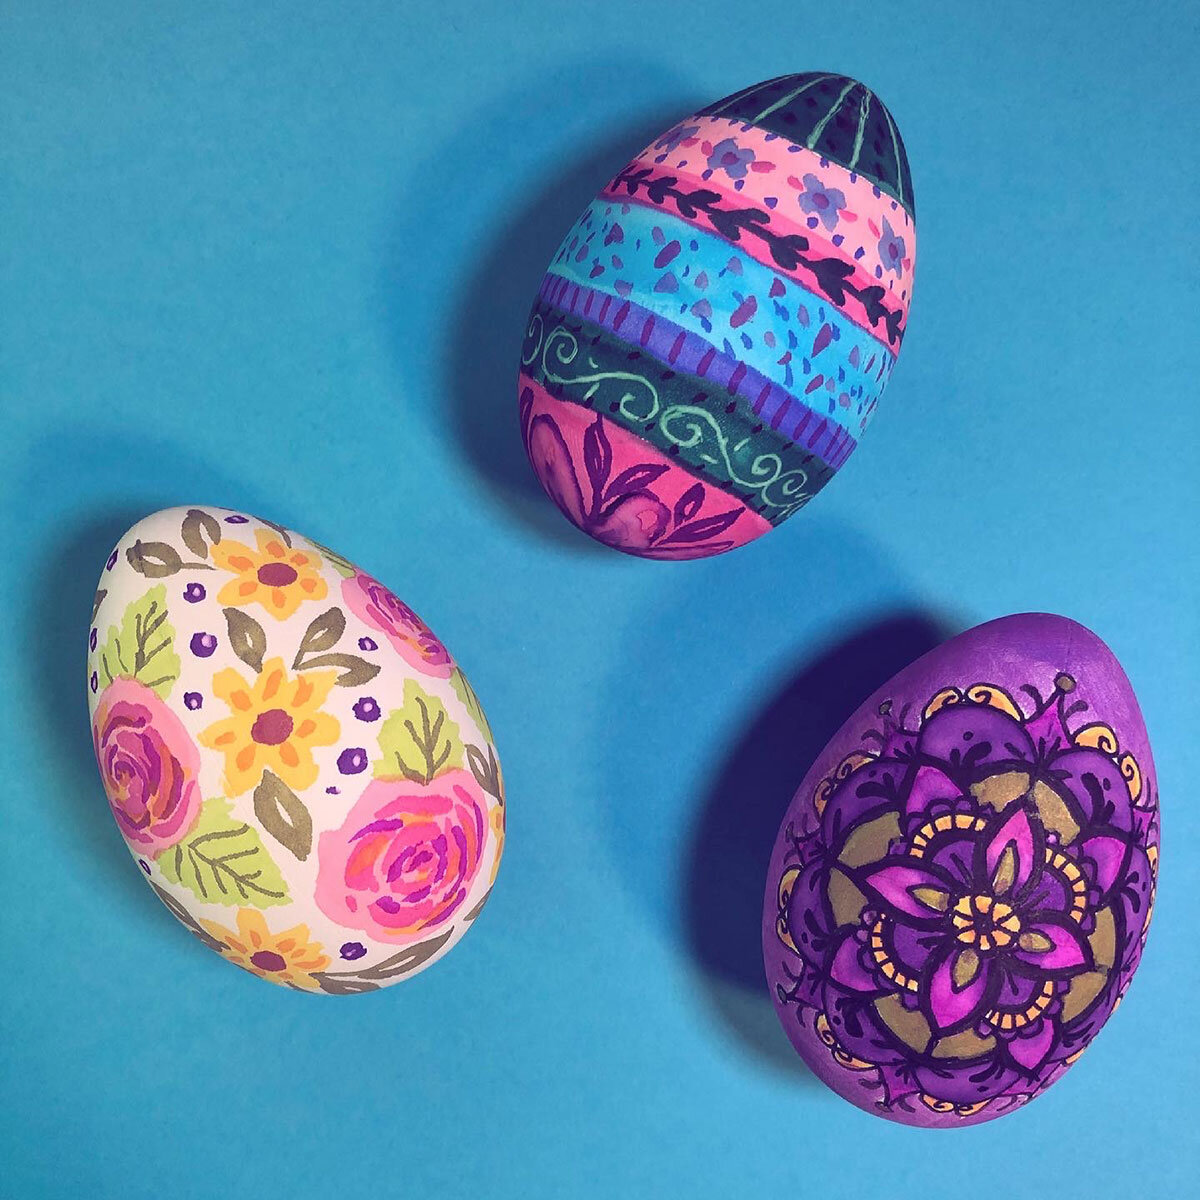
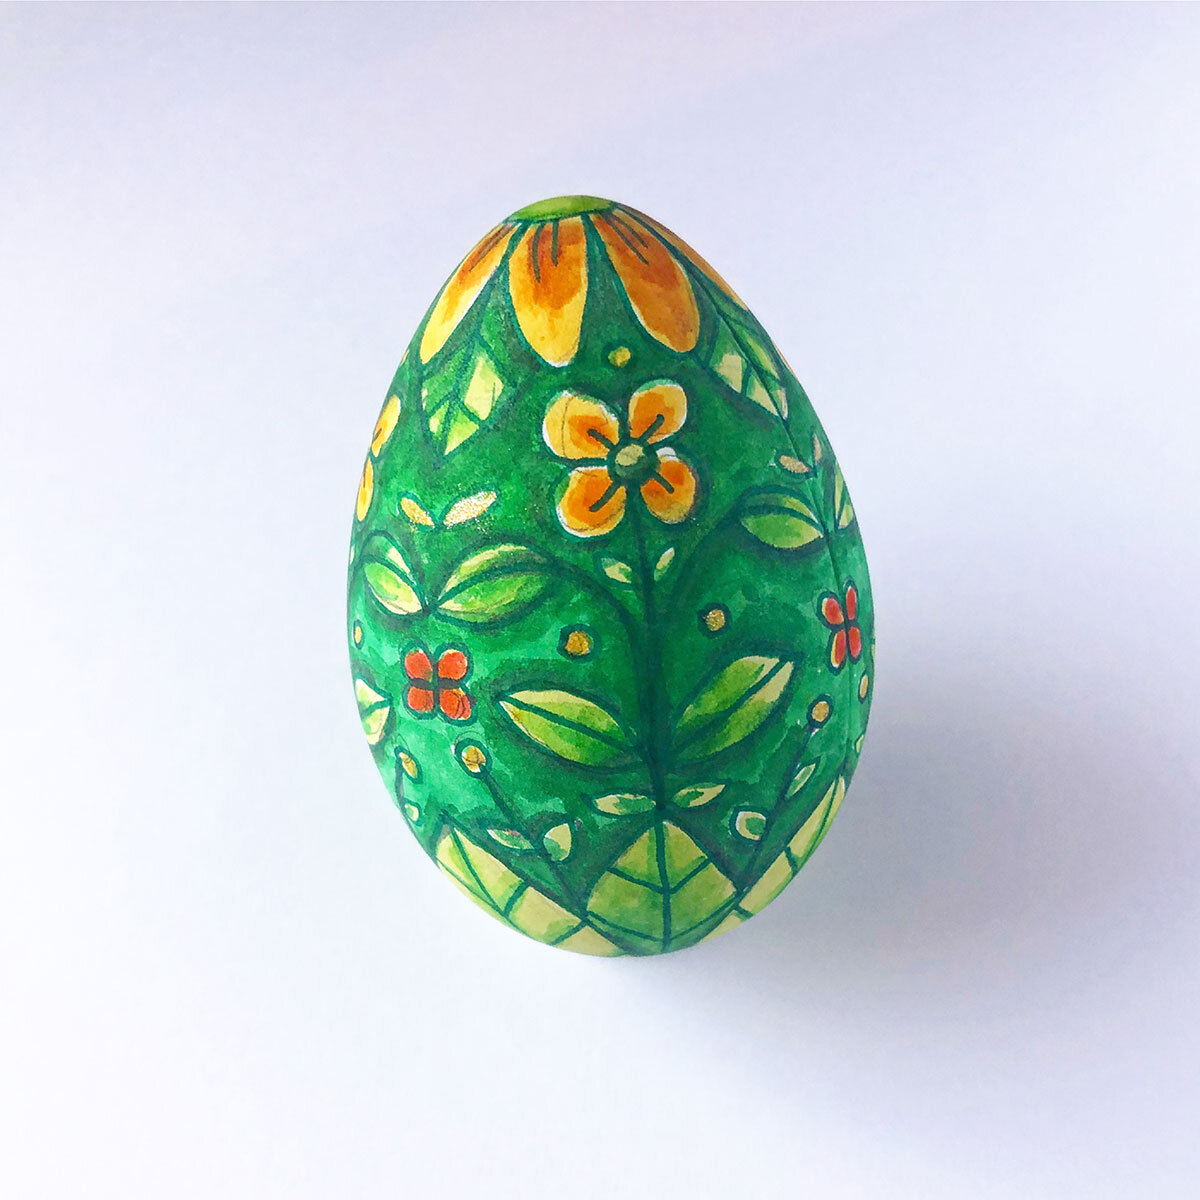
One of my favorite things to do around Easter time is decorate eggs! You might have caught my recent Twitch stream where I created some for this coming holiday. You can watch it HERE.

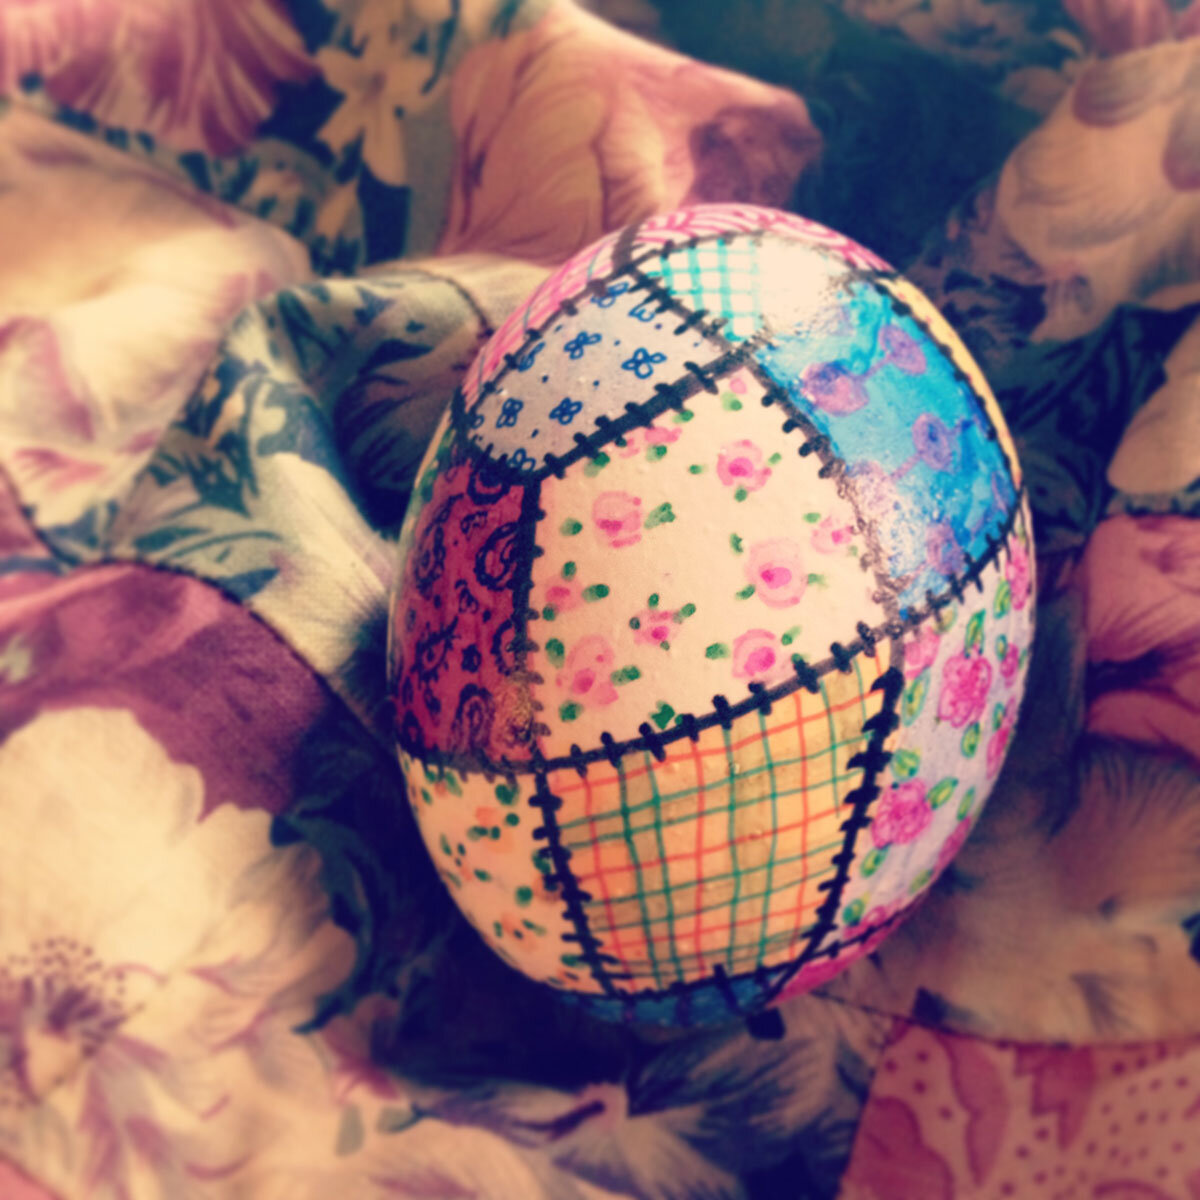
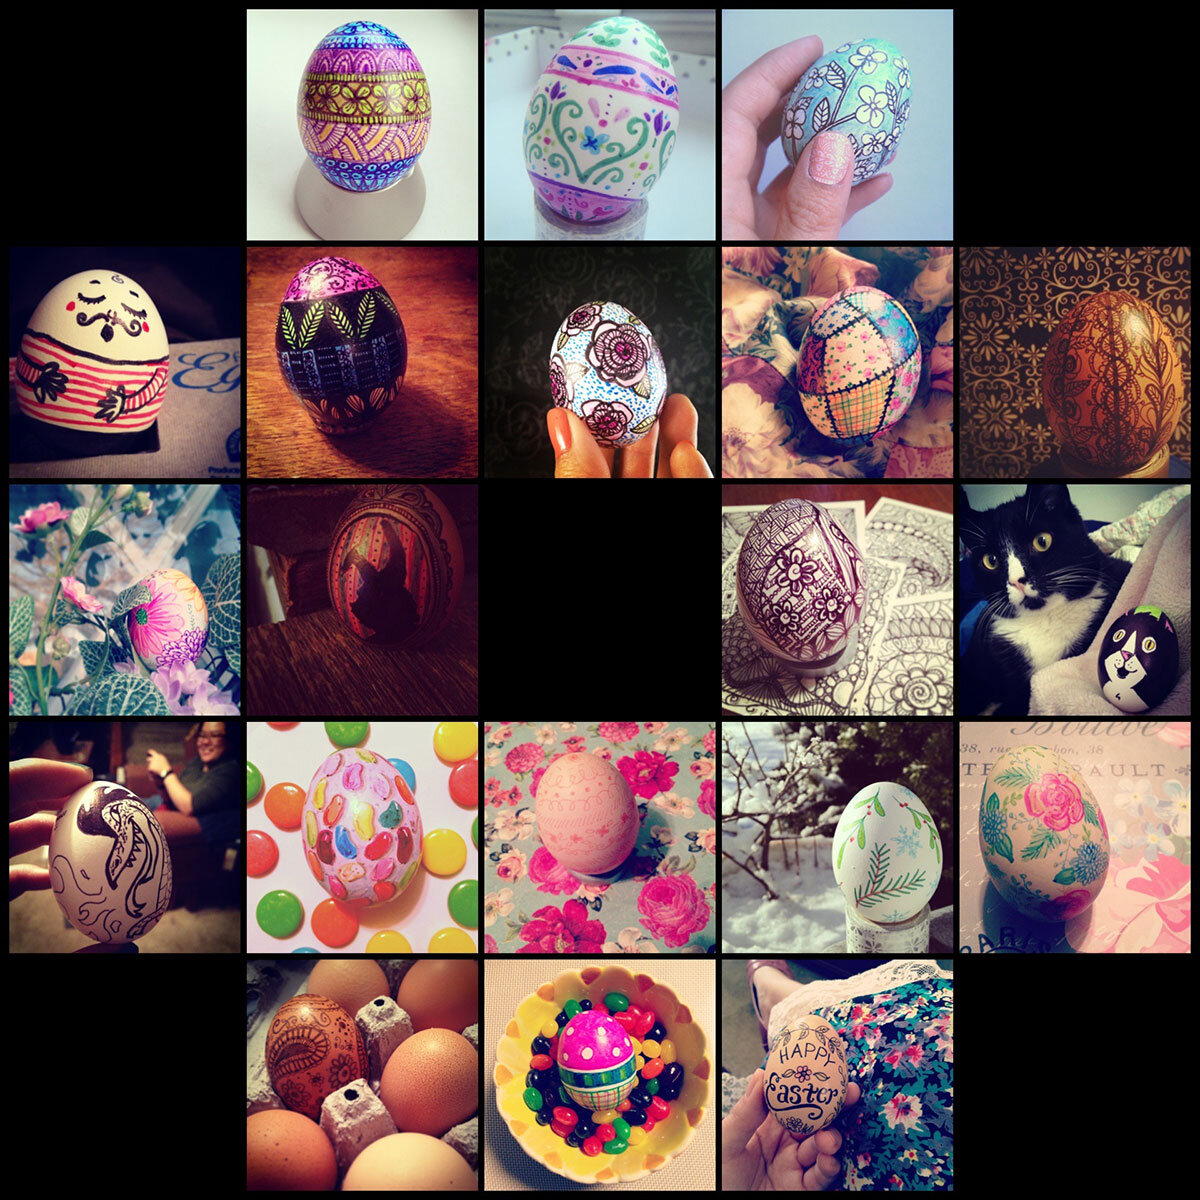
Back in 2014, I had one of my most productive Easter egg-making years when I decorated one a day for 20 days leading up to Easter. I used a different style for each day, and had fun finding different ways to photograph them as well. I even submitted one to a Martha Stewart decorating contest on social media (the quilt-inspired one seen in the slideshow below) and it was featured in the final round of voting!

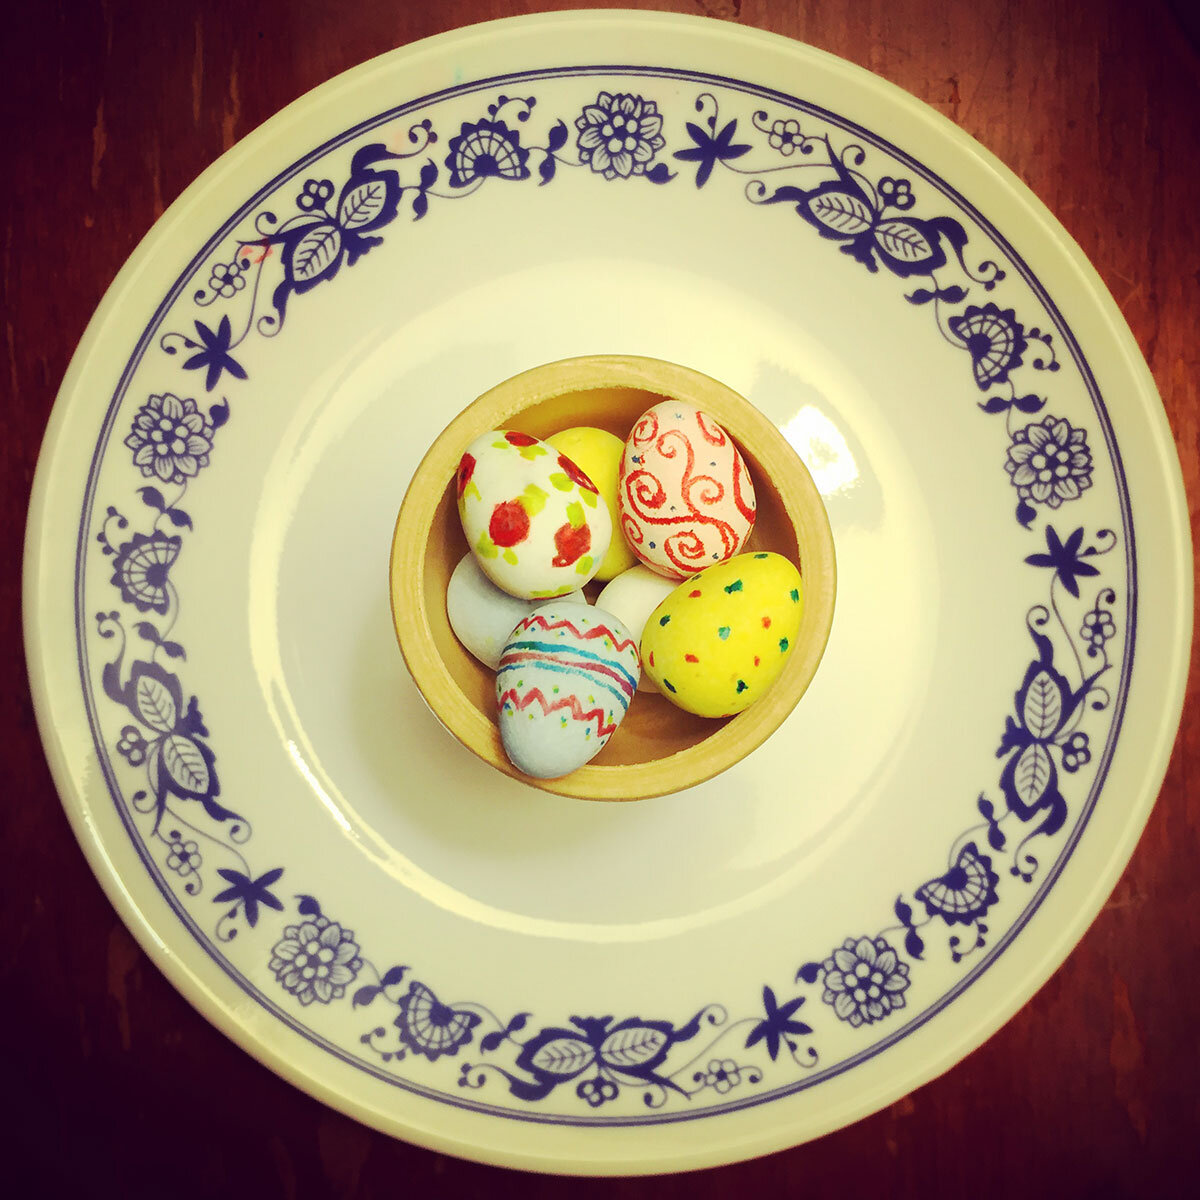
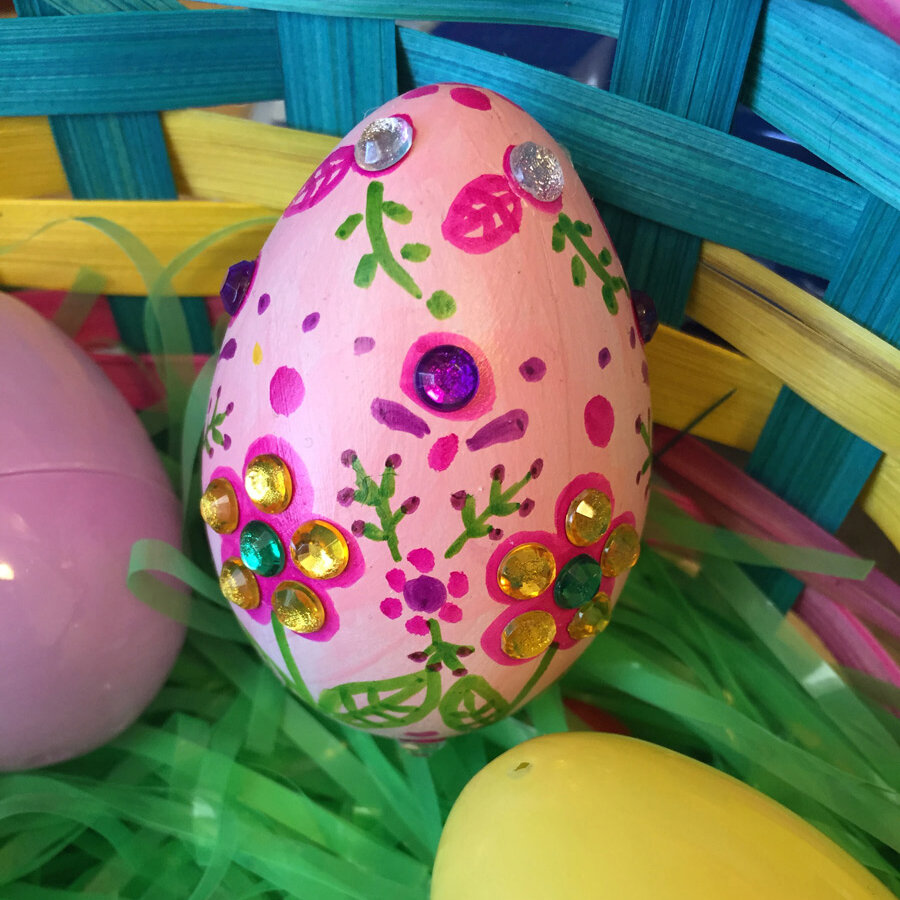
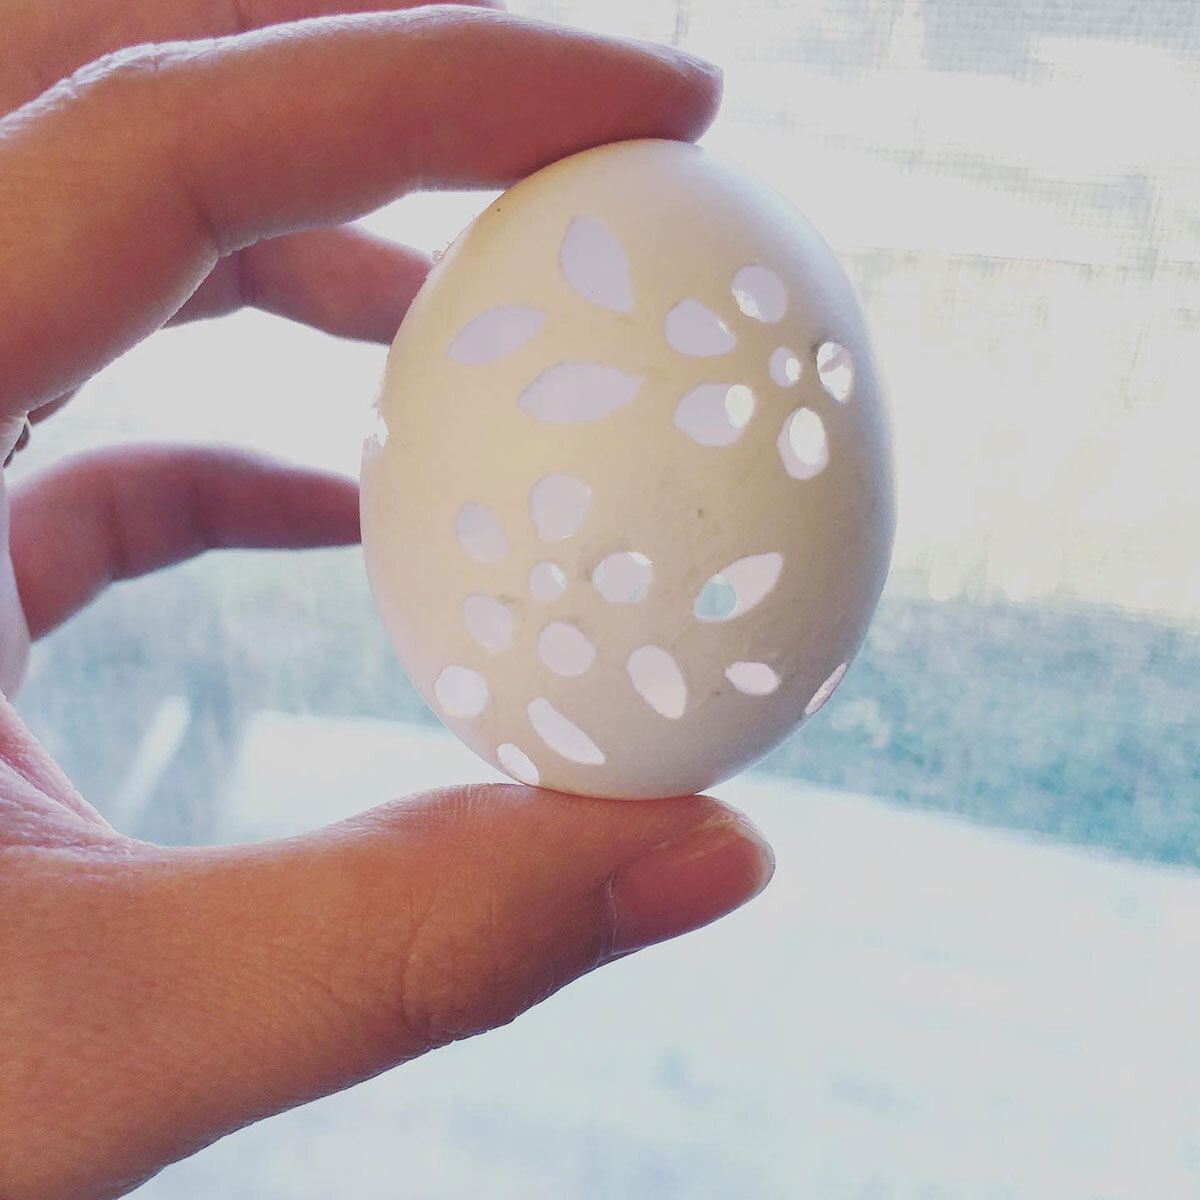
I’ve experimented a little throughout the years. Once, I painted Cadbury mini eggs with food coloring—so cute! I added rhinestone embellishments another time. Last year, I tried my hand at carving an egg shell with a Dremel tool. I have yet to master that, haha. Most of those have ended up cracked and ruined.

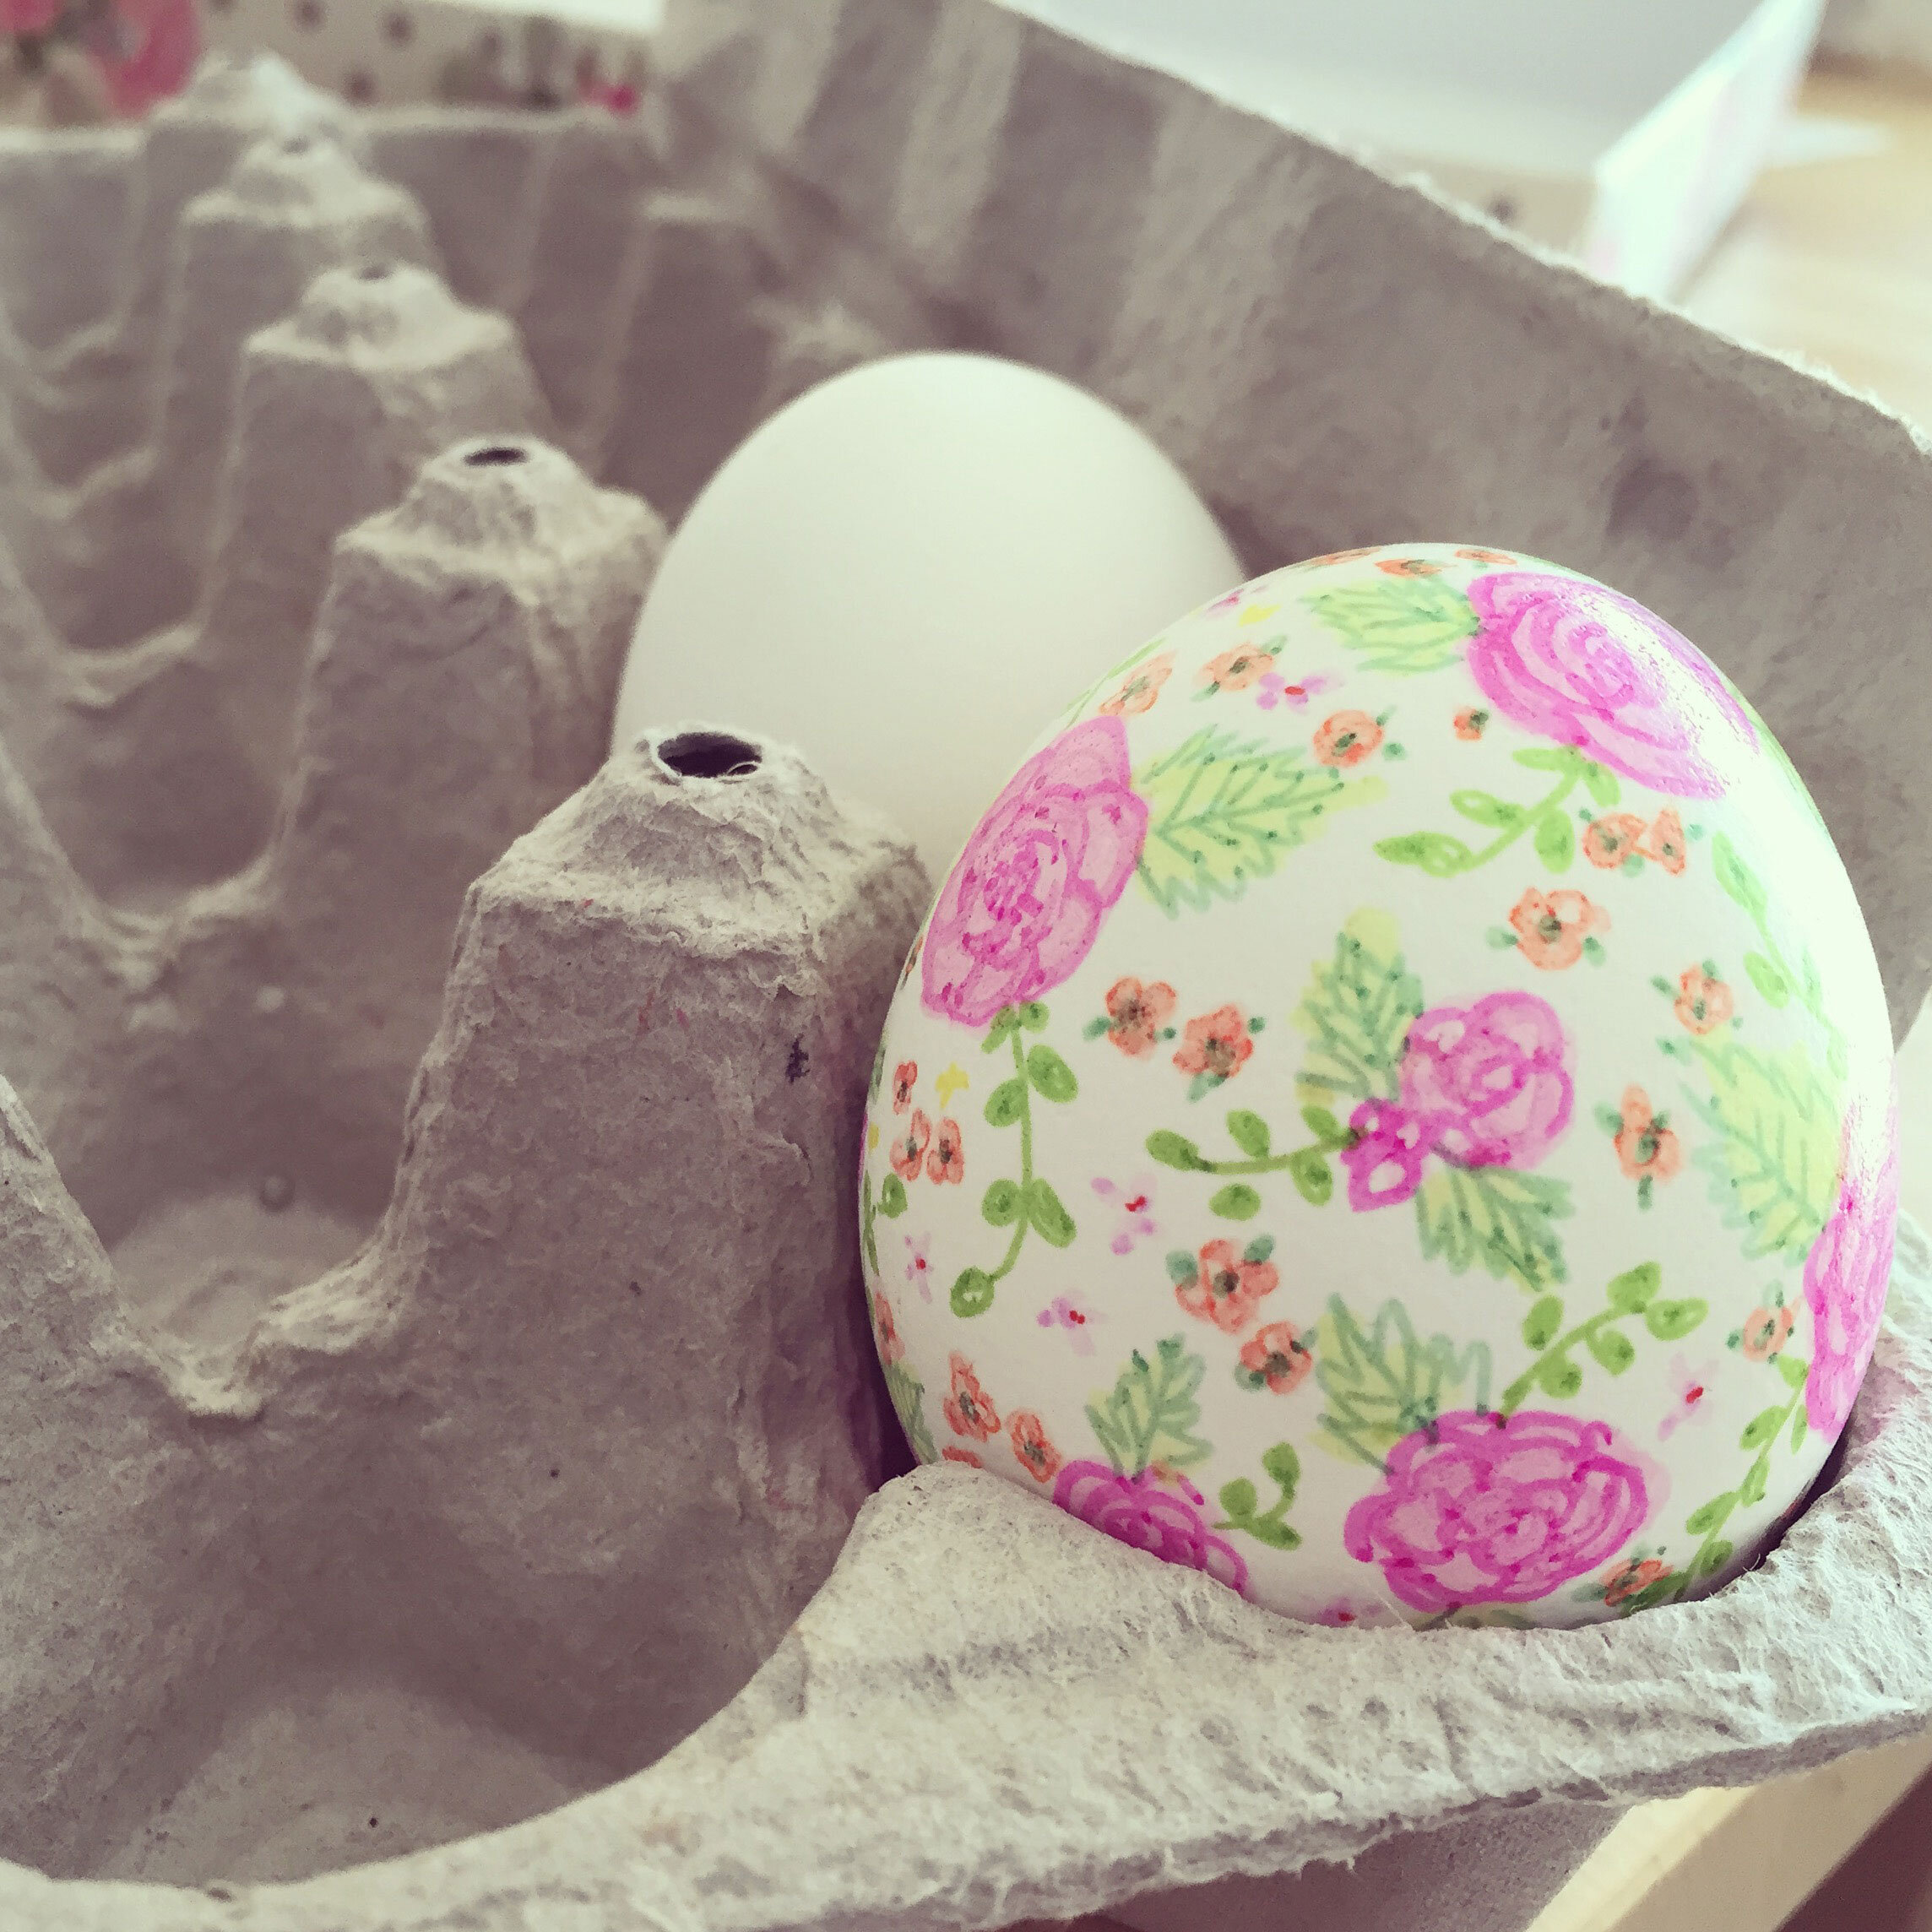
Although I would love to one day learn some of the traditional methods of decorating Easter eggs, such as the Ukranian process of pysanka, I mostly stick to just using markers and pens. It’s easy, quick, and not as messy as dyes and paint. If I use water-based markers, they blend very well but I do have to be careful not to touch with wet hands or risk smudging. Once in a while, I blow out real eggs, but have lately resorted to fake craft eggs—again easier, and also more durable. My kids got ahold of some of my past Easter eggs I had saved and smashed them to bits. Sigh.

For a closer look at the eggs I made this year using brush markers, go to THIS POST.

Anyway, enjoy the slideshow of some of my past and present Easter egg designs!

—Nicole

You might also enjoy some of my recent spring and Easter products…

Focus & Priorities

I started writing an Instagram post for today’s #MarchMeetTheMaker theme, Focus & Priorities. It was getting rather lengthy, so I’ve turned it into a blog post!

njs-profile-2021-small-circle.jpg

Trying to start a small business as an artist can be really challenging if you don’t know what to focus on. That was my problem starting out, all the way back to when I was a student. I majored in General Art, but I didn’t have an emphasis because I didn’t know what exactly I wanted to do. I just knew I liked art.

After school, I got a day job as a book typesetter. On the side, I gradually started to find my “thing” the more I explored and learned. I figured out what wasn’t for me, but with that came new interests as well!

For example, in my childhood and right through college, I thought I would pursue children’s books, animation, editorial illustration, or character design. Then one day I just realized…those were not for me! Don’t get me wrong, I still LOVE all of those things, which is why I thought they would suit me, but it was not the sort of thing I gravitated toward when I created on my own.

What I did find that I enjoyed creating was...

  • decorative art

  • surface patterns

  • hand lettering

  • crafts

  • coloring pages

  • floral illustration

  • graphic design (thanks to my *other* work in book publishing!)

  • digital art

So at this point, I had found what I liked to do, but still had a number of related but separate interests.

Once I finally buckled down and really started to build an actual business, there was also the problem of figuring out what was going to stick. Having multiple interests combined with a variety of business options, there were a lot of false starts. I’ve explored self-published coloring books, a craft blog, art licensing, freelance illustration, print-on-demand sites, stock art, craft shows, heck even knitting patterns and doll clothes… It has been exhausting! Finally, I realized I could funnel many of my skills and interests into creating digital art products and templates. So now that’s become my main objective in my art business!

Today, I still struggle with focus—kids might have something to do with that—but I think I’m narrowing in on my niche. It is always evolving. Maybe I’ll narrow it down even more. Maybe I’ll try something else altogether. Who knows what road I’ll explore in the future. We’ll just have to wait and see where my journey takes me!

—Nicole

Sign up for my newsletter!

I’m launching a newsletter on FRIDAY March 5. Sign up and stay up to date on my latest releases, as well as gain access to exclusive content such as free downloads, discounts, art tips, and more. One of my first bonus projects is this Easter Bunny portrait paper craft.

I’d love to have you as part of my little club! I look forward to growing and making with you!

You can sign up over in the sidebar or footer of my website. :)

—Nicole

nsturk-210221-bunny-art-sign-up.jpg