Holiday Projects to Make with Cricut

Ever since Halloween ended, I have been diving straight into holiday crafting mode. Yes, my tree is already up, as of November 2nd! With Thanksgiving in the U.S. next week, and the start of the Christmas season, I thought I would give you all a little round-up of all that I’ve done so far to give you some inspiration for your own holiday crafting.

Please note: This blog post contains affiliate links, meaning I receive a commission if you make a purchase by following my link to the site.


Since I now design SVG images for Cricut as a Contributing Artist, my main focus lately has been on Cricut-made crafts, especially paper crafts. As such, the projects listed below can all be found in my Design Space profile ready to make.

If you have a Cricut Access subscription Cricut Access subscription, all these projects (and TONS of other wonderful projects on Design Space) will not cost you any extra. (Without it, premium images and fonts must be purchased ala carte.) I am a subscriber, and I have been having so much fun browsing, bookmarking, and making projects from Cricut and the community members. Click HERE to learn more about Cricut Access.

Now on to the projects…

These first three were created as part of a special initiative given to Contributing Artists to come up with projects for the holidays. Many artists submitted original crafts, complete with lists of materials, full instructions, and high-quality photos. Be sure to check them out!

Poinsettia Insert Card

This is a quick and easy beginner project I made with my Cricut Joy and card mat (although it can also be made with the bigger machines). It incorporates both drawn and cut elements. I love the red glitter cardstock shown here, but I made a bunch of other color combos, which you can see in my Design Space photos.

Gingerbread Gift Tags

These are made with layers of cardstock. The design is more intricate, but the assembly is pretty simple. There are drawn elements on the back side as well. These also work great as ornaments!

North Pole Sign

Here is one non-paper craft. I cut this North Pole sign from permanent vinyl and applied it to a painted wooden plaque. This was probably the most complex project—or maybe it just felt that way because I’m not great at using vinyl yet! I love the end result, though.

These next projects weren’t official Cricut Contributing Artist holiday submissions—I just made them for fun as a community member!

Snowflake Photo Ornament

These are layered paper ornaments that are double-sided. On one side, I put space to insert a small photo. The other side contains the year. I made one of these for each of my four kids in different colors.

Christmas Cookie Plate Ornament

This one is also made with layered cardstock. Each little cookie is assembled separately and attached to the plate base. The paper layers give a nice dimensional look to the cookies.

Holly Jolly Insert Card

Last but not least, this is an insert card I designed with a holly theme. This one has elements that are cut from other colors and placed on top of the card base. I used a glittery white insert on this one—love the sparkles, especially for the holidays!

That’s it for this post. I’m sure I’ll be making even more as the season progresses, so you may see another holiday craft roundup before the season is through. ;)

Happy Holidays!

You might also like…

Fall Craft Projects

The past couple weeks was Fall Break for my kiddos at school, so I was tasked with keeping everyone entertained. I thought it would be a perfect time to break into some fall and Halloween crafting! Keep reading to see our projects and links to help make some of your own.

Please note: This blog post contains affiliate links, meaning I receive a commission if you make a purchase by following my link to the site.


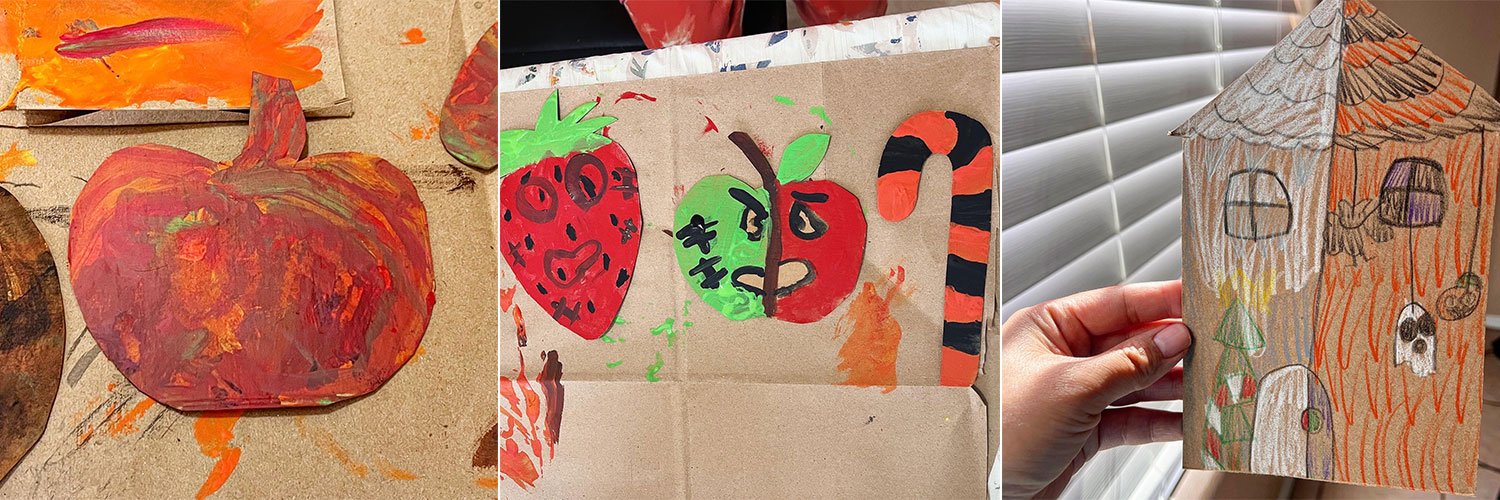
First, let me show off my kids’ creations, seen below. For context, I suggested that we cut out pumpkin shapes out of some scraps of cardboard and decorate them. Pretty basic. Thank goodness I have imaginative kids, because they sure made it their own!

My youngest stuck with the pumpkin idea. She is only three, so it was pretty much a pile of paint. She dubbed it “rainbow pumpkin.” My second-oldest asked me, rather than pumpkins, to cut out a candy cane, apple, and strawberry shapes from the cardboard. I obliged, and out of this grew some zombie fruit and a black and orange striped candy cane. My oldest asked for a house shape. She then drew a line down the middle and made one side “Christmas” style and the other “Halloween.” So cute. They are now all hanging proudly on our wall.

As for me, I’ve been keeping myself busy with my share of pumpkin crafts…

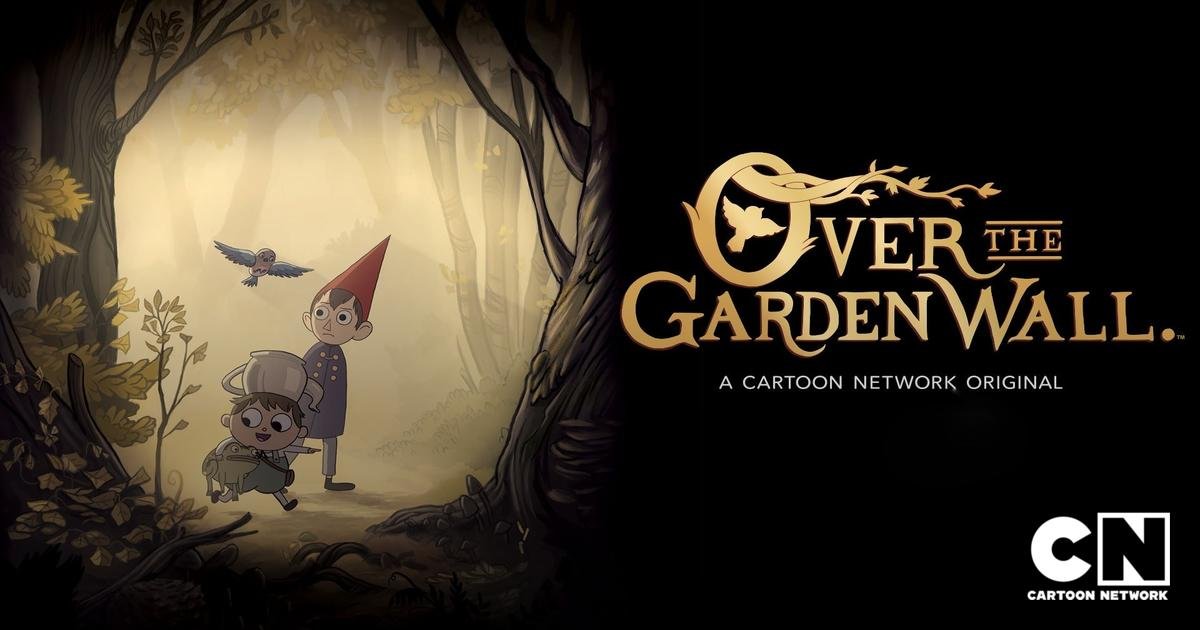
I took a Halloween sign I found in the dollar section at Target and gave it an Over the Garden Wall fan art makeover. If you’re unfamiliar with OTGW, it’s a fun and quirky animated series with perfect fall vibes. I highly suggest checking it out. It’s currently on Hulu in the U.S. For the sign, I first repainted the surface to get rid of the current design, then I found the title lettering online and converted it into an SVG so I could cut out a stencil in removable vinyl. I painted it with gold paint and redrew the pumpkin face to match a character from the cartoon.

Click on the image to see my video on Tik Tok

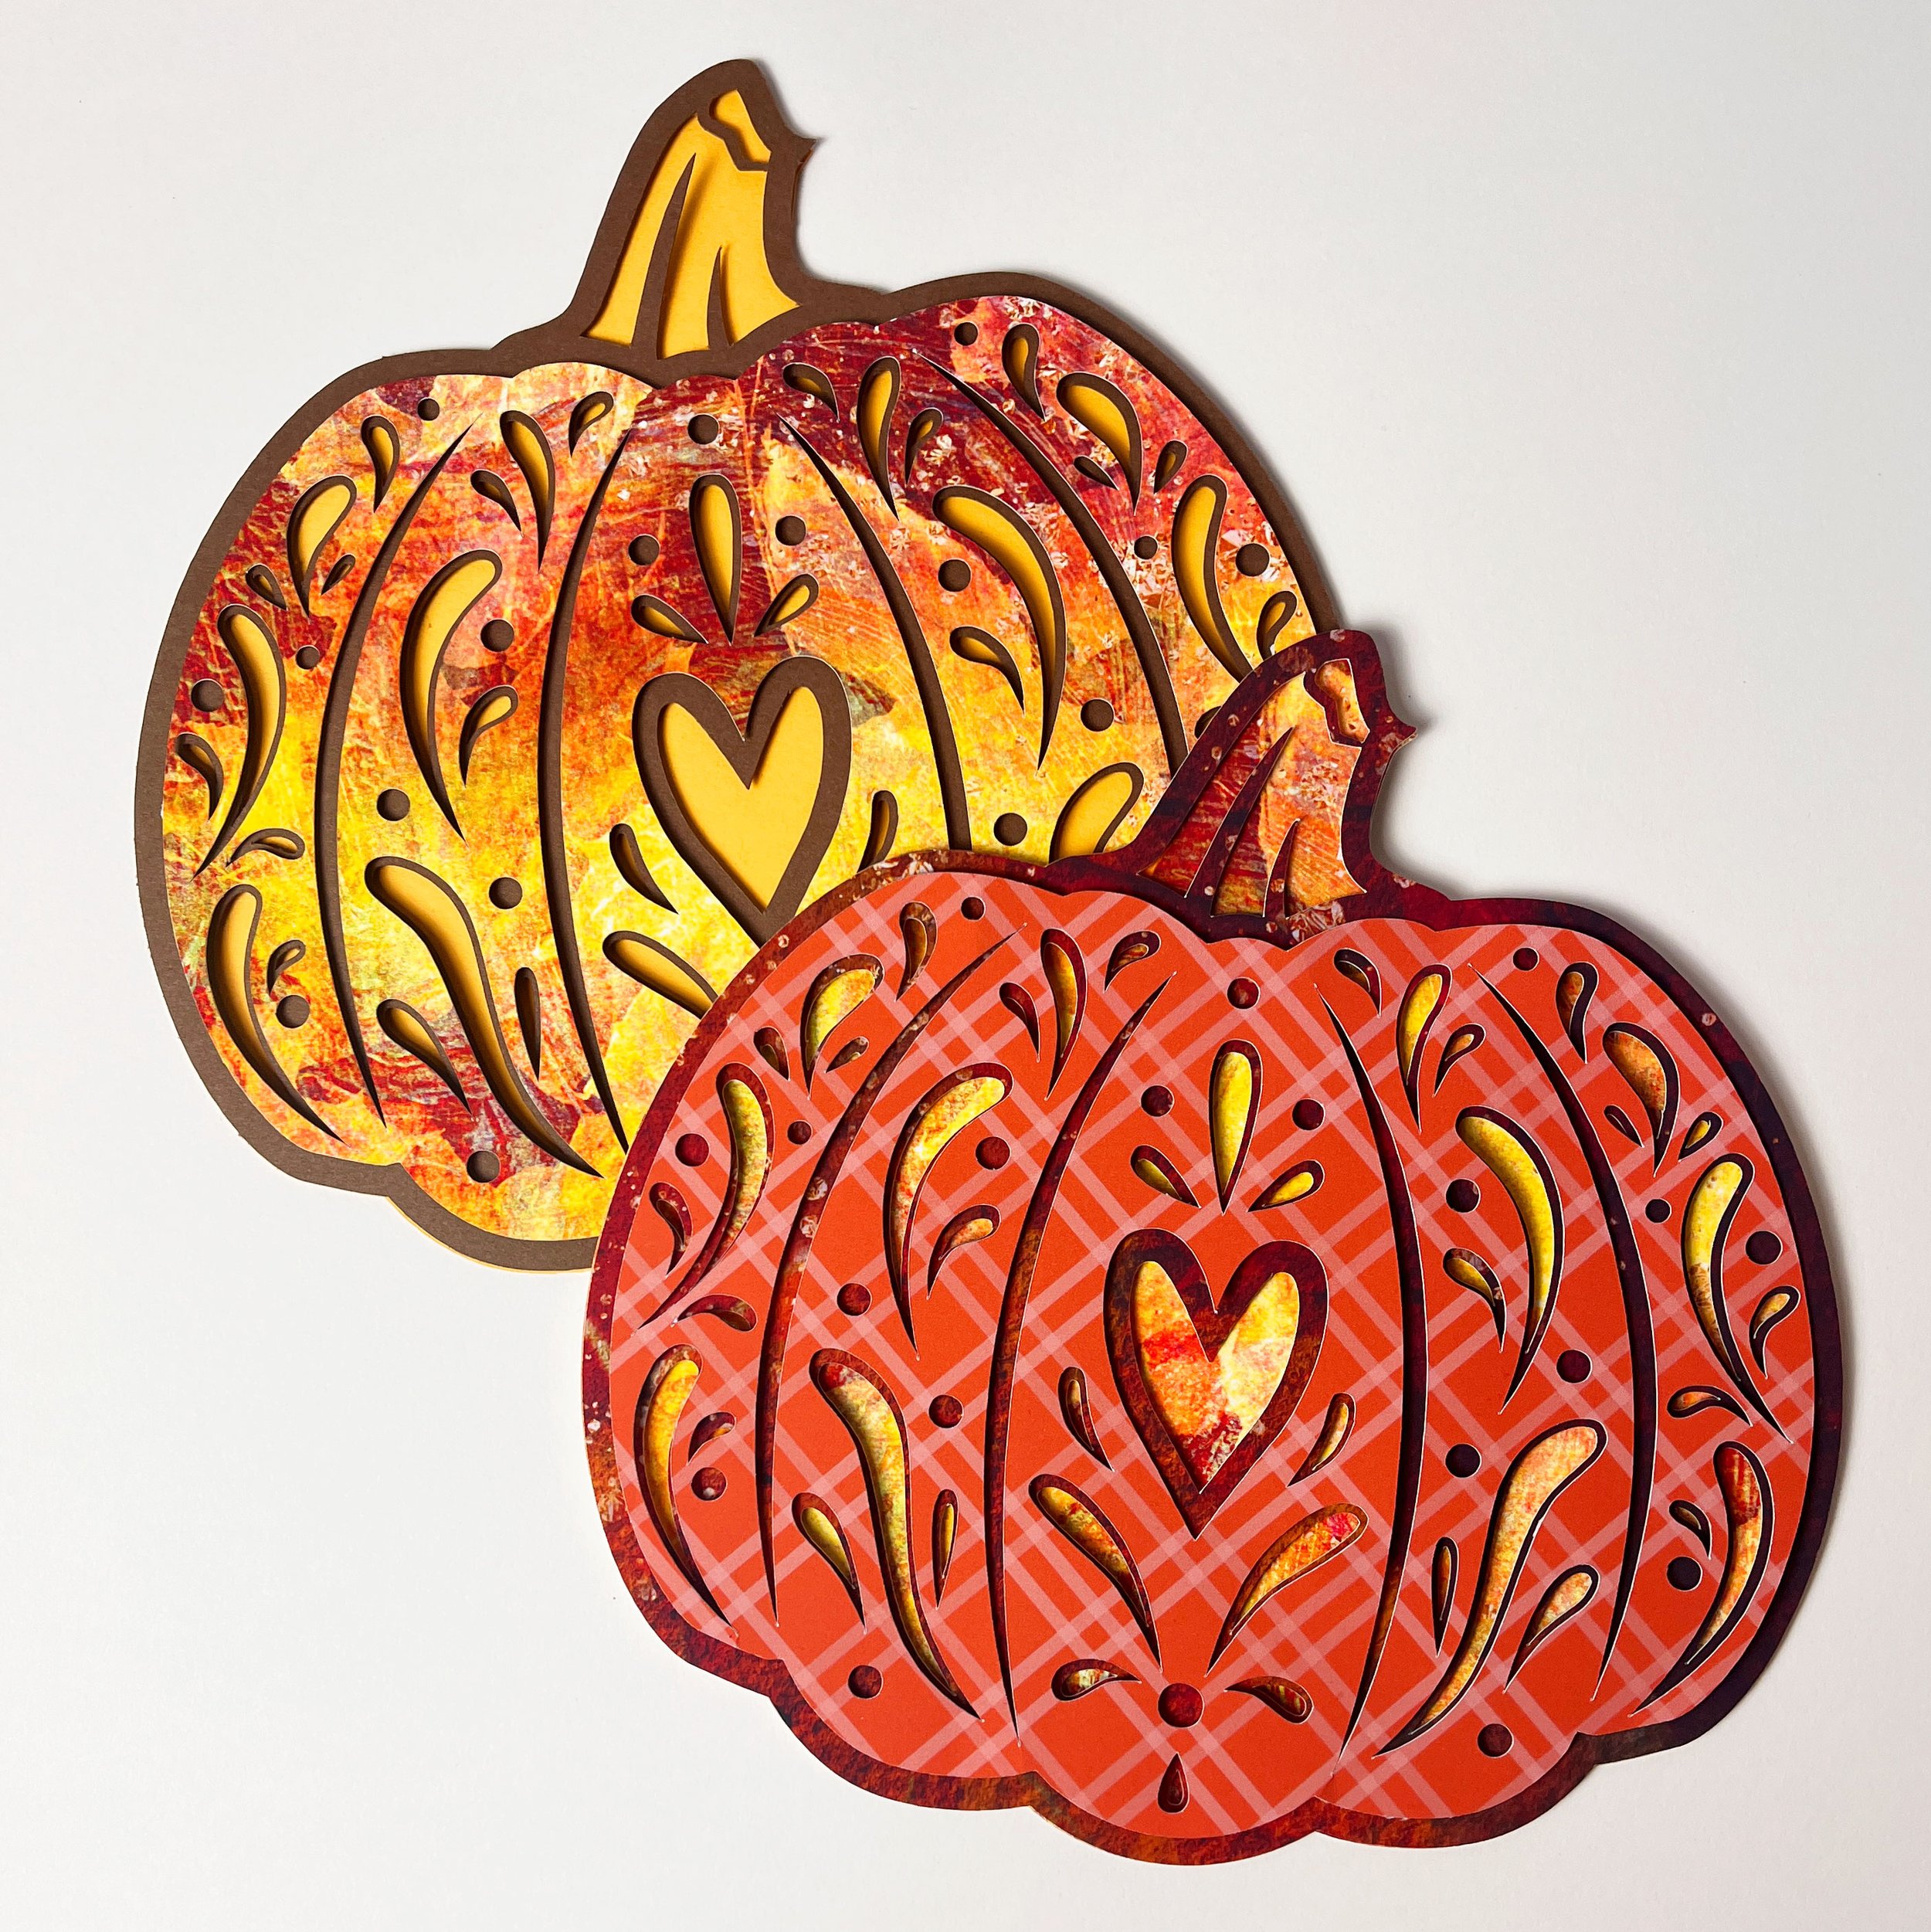
I also designed one of my first layered paper pieces to create a pretty autumn pumpkin wall decoration. I kept it simple—only three layers of cardstock to cut. I used patterned paper to add some interest. This is one of my new images that you can find on Cricut Design Space. (Click on the images to view the project page and cut your own!)

By the way, my images on Cricut Design Space are free to use for Cricut Access members. If you own a Cricut machine but are not yet an Access subscriber, I highly recommend it! There are loads of images, fonts, and features that are included, as well as shop discounts. It is a crafter's dream.

Click the images to view the project on Cricut Design Space.

Last but not least, I made this cute little pink pumpkin notebook. I printed out some patterns and dot grid papers. I cut the papers in half, then stacked and folded them into a booklet, which I stapled at the spine. I cut the pumpkin from vinyl to add to the cover. This pumpkin image is also one of mine on Design Space. Click on the images to view the project page.

Click the images to view the project on Design Space.

Psst, if you want to make your own notebook, I’ve made this project into a FREE printable download on the secret section of my website, which you can access by subscribing to my email newsletter. You’ll find lots of other freebies there as well!

So as you can see, lots of creative fall crafting going on here in the Sturk household, and hopefully more to come—unless I decide to skip right to the holidays haha.

Happy Crafting!


You might also like…

Links to Cricut Projects on Design Space

Watch Over the Garden Wall on Hulu (U.S.)

I am a Cricut Contributing Artist!

I have some fun news… I am now a Cricut Contributing Artist! This means that you can find my artwork on Cricut Design Space. Since I was accepted into the program, I have been busy building up my library of images and creating some fun projects to go along with them.

Please note: This blog post contains affiliate links, meaning I receive a commission if you make a purchase by following my link to the site.

There are a few SVGs that are also sold in my Etsy shop, but many are brand new and only found on Design Space.

If you have a Cricut Access subscription, these images are included in that and are free for you to use. If you do not subscribe, you can still purchase images ala carte. However, there are TONS of great images on Design Space from Contributing Artists—not just mine—so I highly recommend subscribing if you want to get the most bang for your buck. The subscription also comes with shop discounts and tons of ready-to-make projects, so there is a lot of value in being a member of the Cricut club!

And be sure to follow my Design Space profile to keep up to date on new images AND projects!

Free Envelope SVG for Cricut Joy Insert Cards

As much attention as I’ve been giving my new Silhouette, I’m still crafting with my Cricuts! It’s double the fun, hehe.

The Cricut Joy insert cards are one of my favorite projects. It’s great that they’re so quick and easy. Even so, I like to spend time on them making them more personalized.

nsturk-cricut-joy-insert-envelope-photo-1-web.jpg

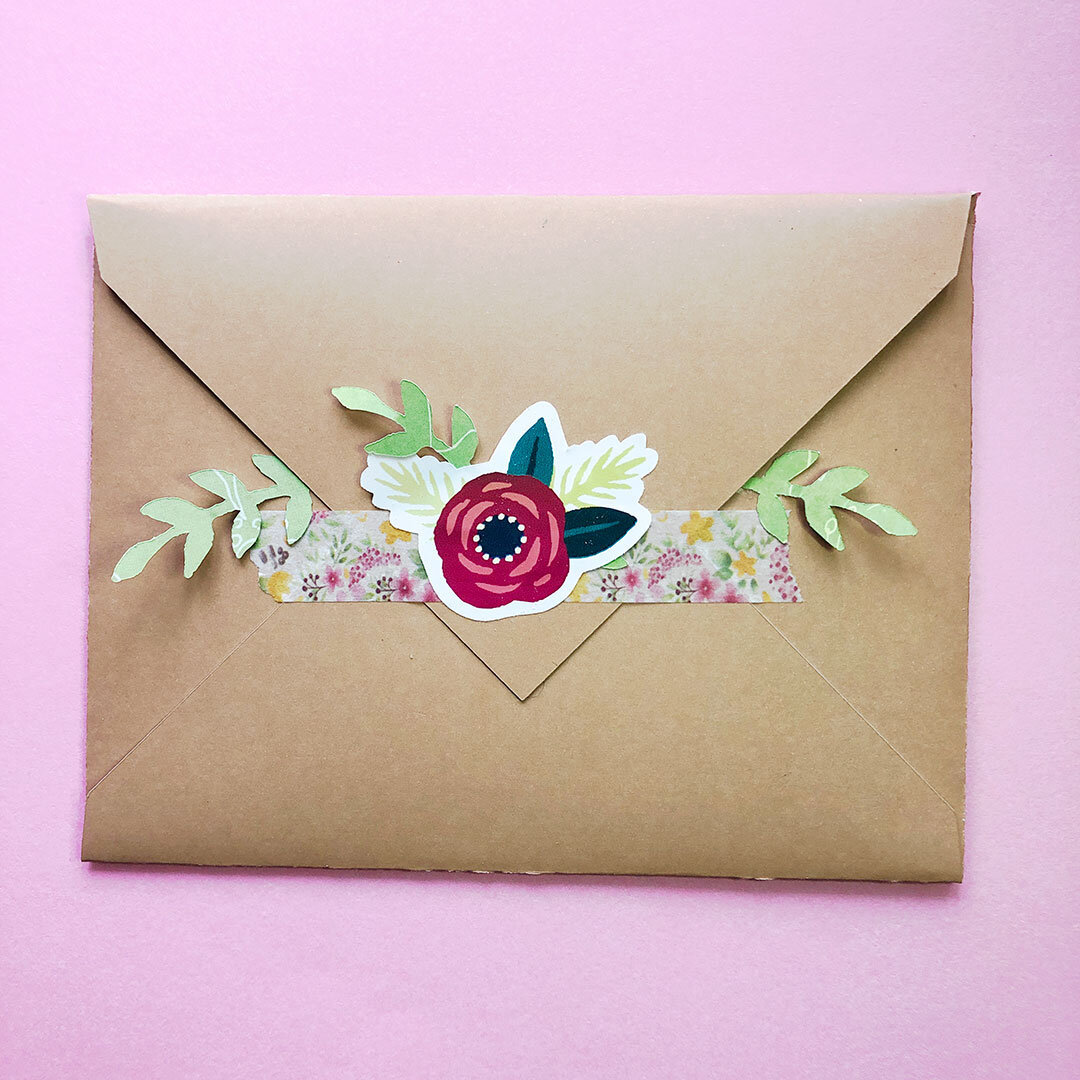
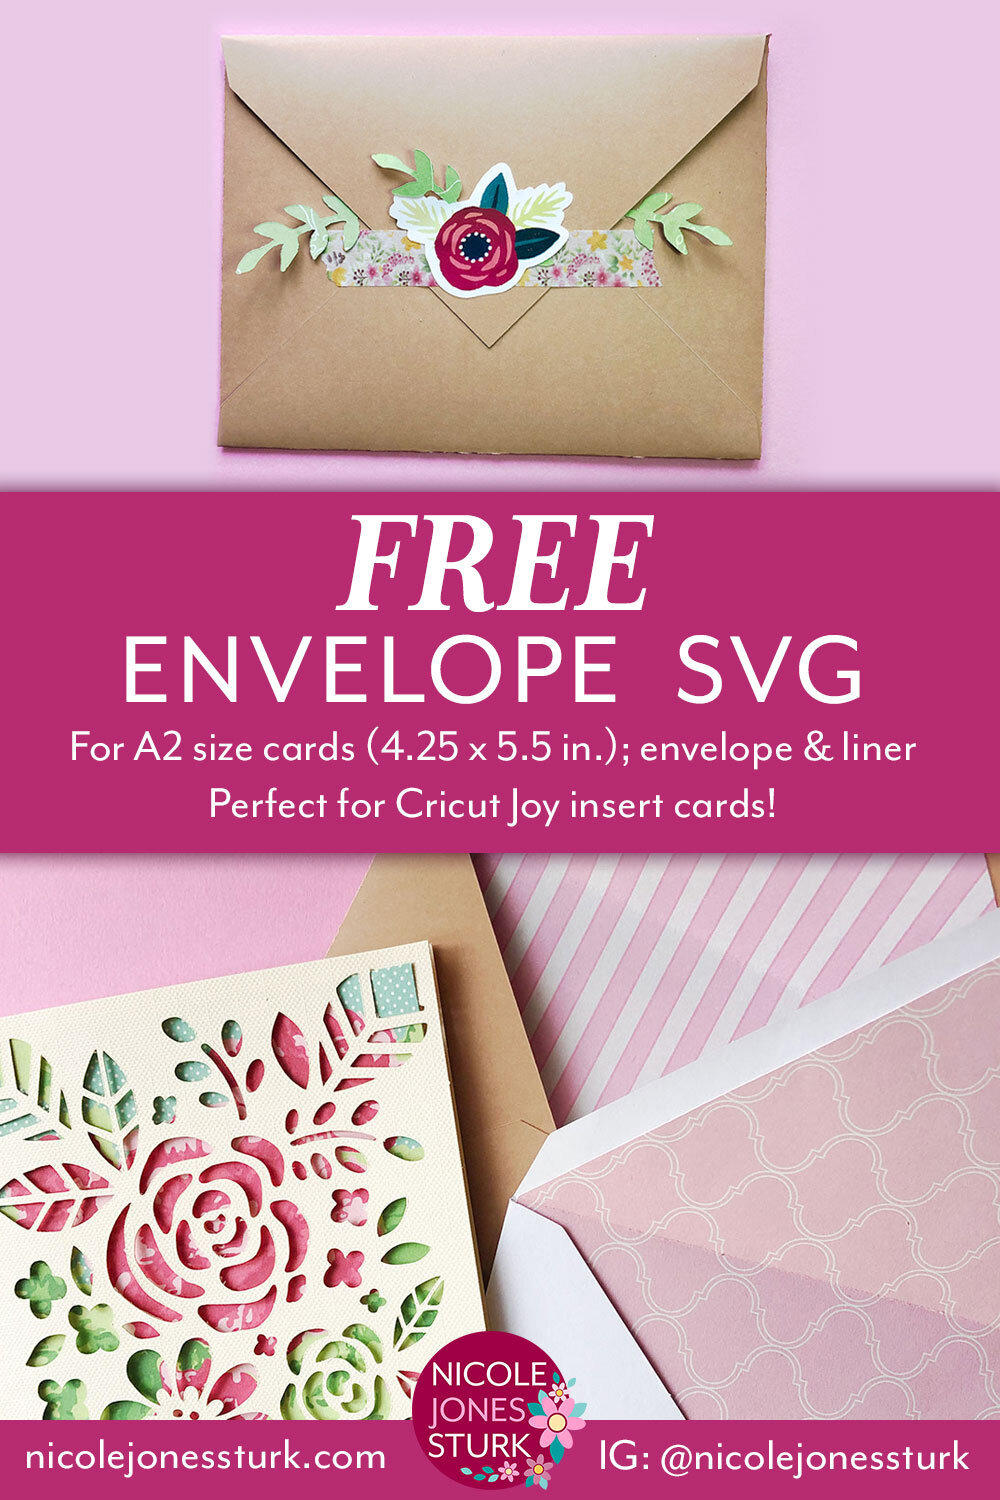
One way you can add a little bit extra to your insert cards is to make a custom envelope! It’s fun to coordinate it to your card with your choice of papers and embellishments. It also uses up some of that paper you’ve been stashing away!

I created my own cut files to use, which I’m going to share with you because I like you. ;)

The FREE download I’ve prepared for you includes:

  • envelope SVG sized for A2 Cricut Joy insert cards (4.25 x 5.5 inches)

  • envelope liner SVG

  • envelope liner printable PDF template—print directly on your paper and cut by hand; use with an existing envelope

  • PDF instructions

nsturk-cricut-joy-insert-envelope-photo-2-web.jpg

Some tips: I like to use a sturdy paper, but not too heavy. I still want it easy to fold and mail if needed. Also for mailing, I prefer to use a plain paper for easier readability when going through the postal system. The liner works best with a lighter weight paper so you don’t add too much bulk to the inside or make it harder to fold. I probably wouldn’t add loose elements (like the paper branches that are sticking out in the image above) if I were planning to mail as well.

Oh, and obviously, you can use this with any A2 size card, not just Cricut Joy insert cards! And SVGs can be resized as well.

FYI, if you like the flower sticker in the image above, you might be interested to know that I’m working on a cute floral printable sticker sheet as part of my bonus content for April. Sign up for my newsletter if you haven’t already to gain access to that download and more when it’s ready!

Click on the button or image below to download the envelope files!

You’re free to use with any project, but please do not redistribute the original files directly, such as through a direct download on our own blog or social media. But that doesn’t mean don’t SHARE—I’d love if instead you sent your friends a link to this post so they can download as well!

nsturk-freebies-promo-april2021.jpg